
Classes & Pupils
Open CLASSES on the school home screen. Regular teachers see their own classes. Head teachers see the school’s classes grouped by teacher.
Create or edit a class
Section titled “Create or edit a class”Tap New Class, enter its Class Name, and enter Total learners if available. Tap Save. A class created from your Classes tab is assigned to you for the current year.
The form also has Grade(s) and LOLT. Both are optional. Tap a field to choose from the list: you can tick more than one grade (Grade R to Grade 7) and more than one LOLT (English, isiXhosa or Afrikaans), then tap OK.
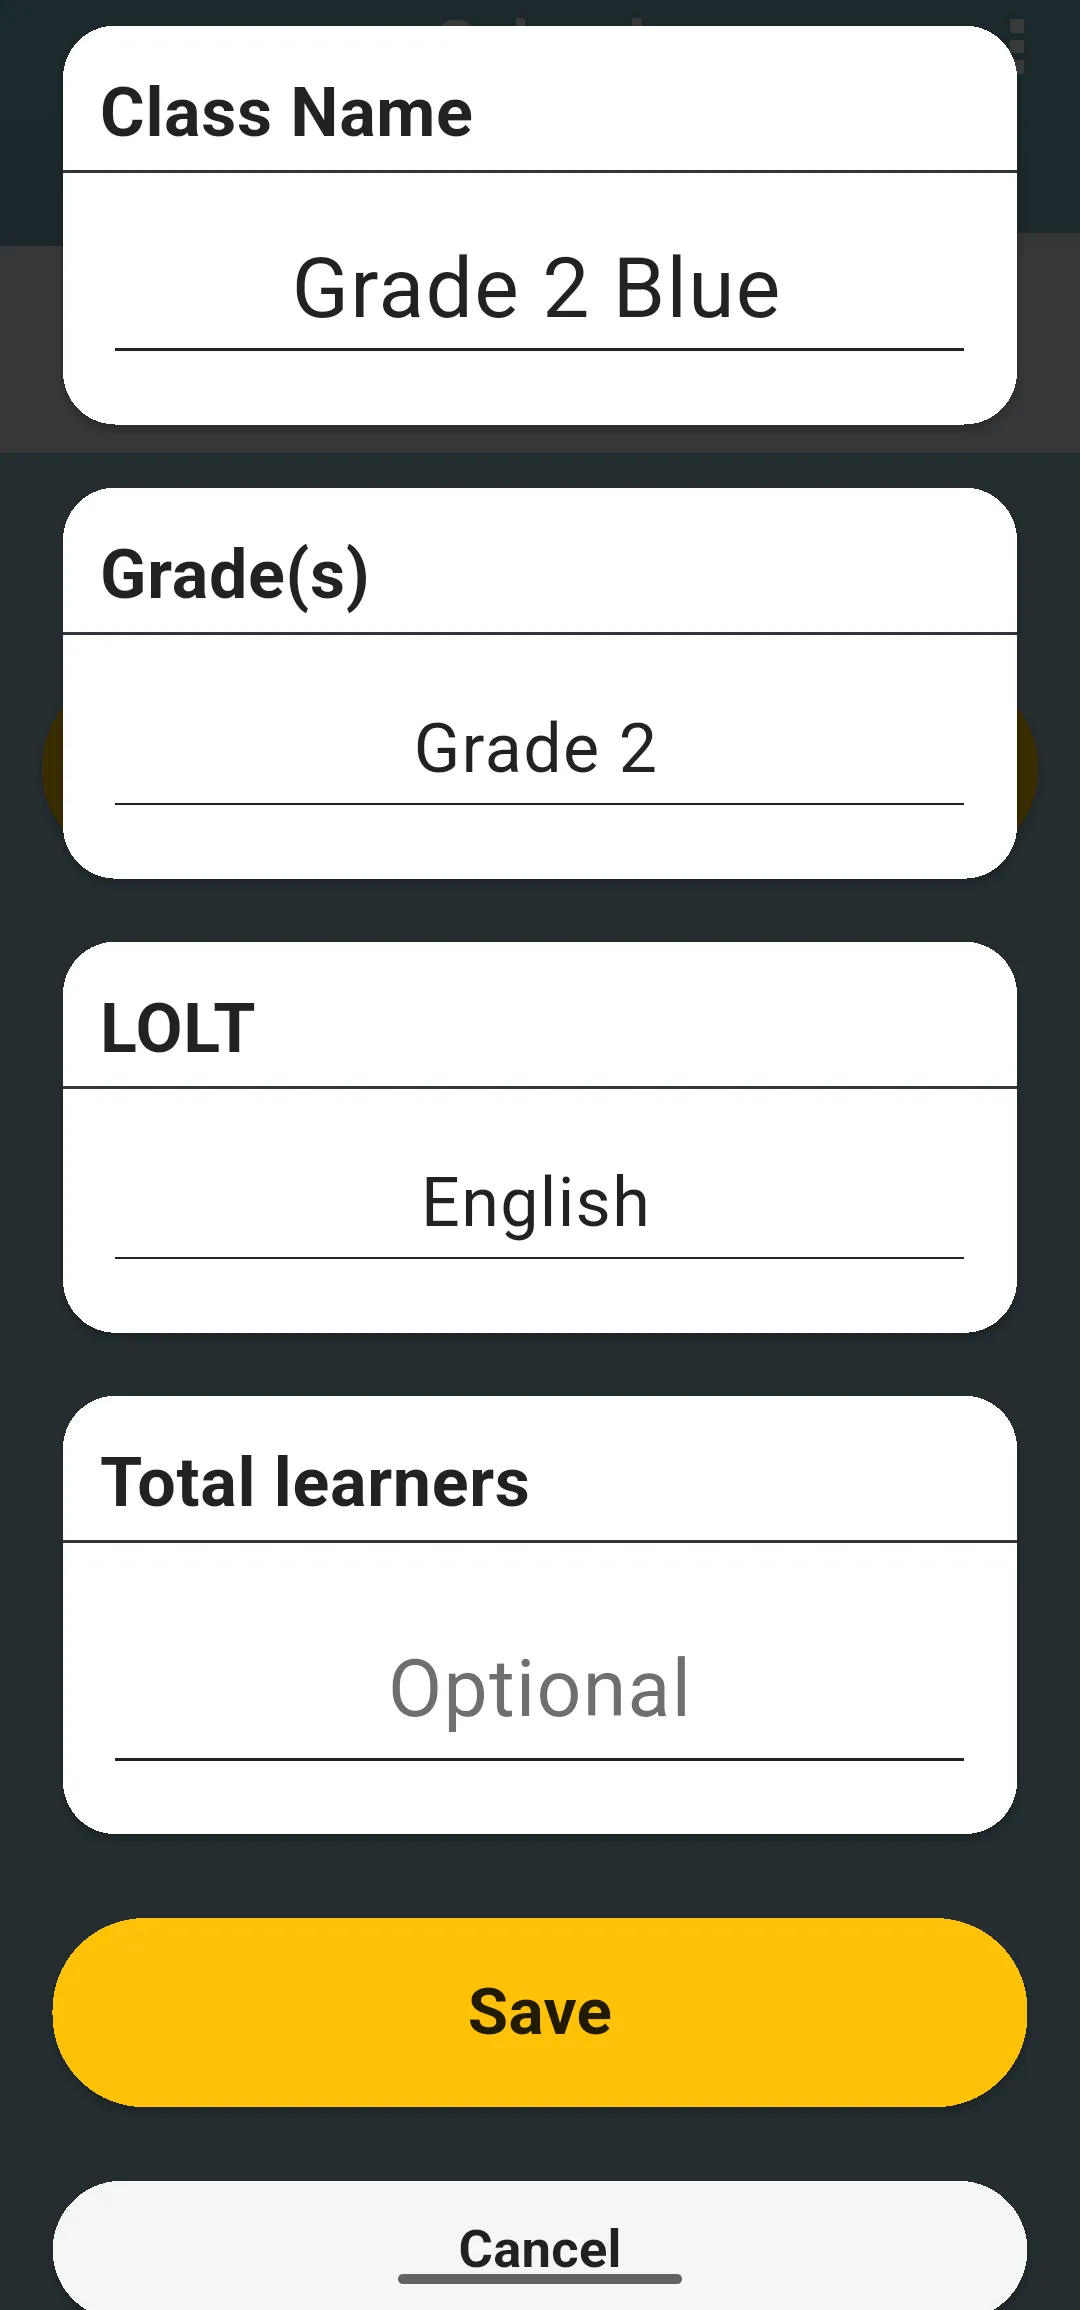
To change a class later, open it and tap Edit Class Details at the bottom of the class card. It opens the same form with the class’s current details. Tap Save to keep your changes, or Cancel to leave without changing anything.
Total learners describes the size of the class. It is separate from the number of individual pupil records registered in the app. Entering a total does not create pupil records: add each pupil who needs to be on the assessment roster.
The class card
Section titled “The class card”Open a class to see its card at the top: School, Grade (or Grades when there are several), LOLT, Pupils (the pupil records in the app) and Total learners (Not set if nobody entered it).
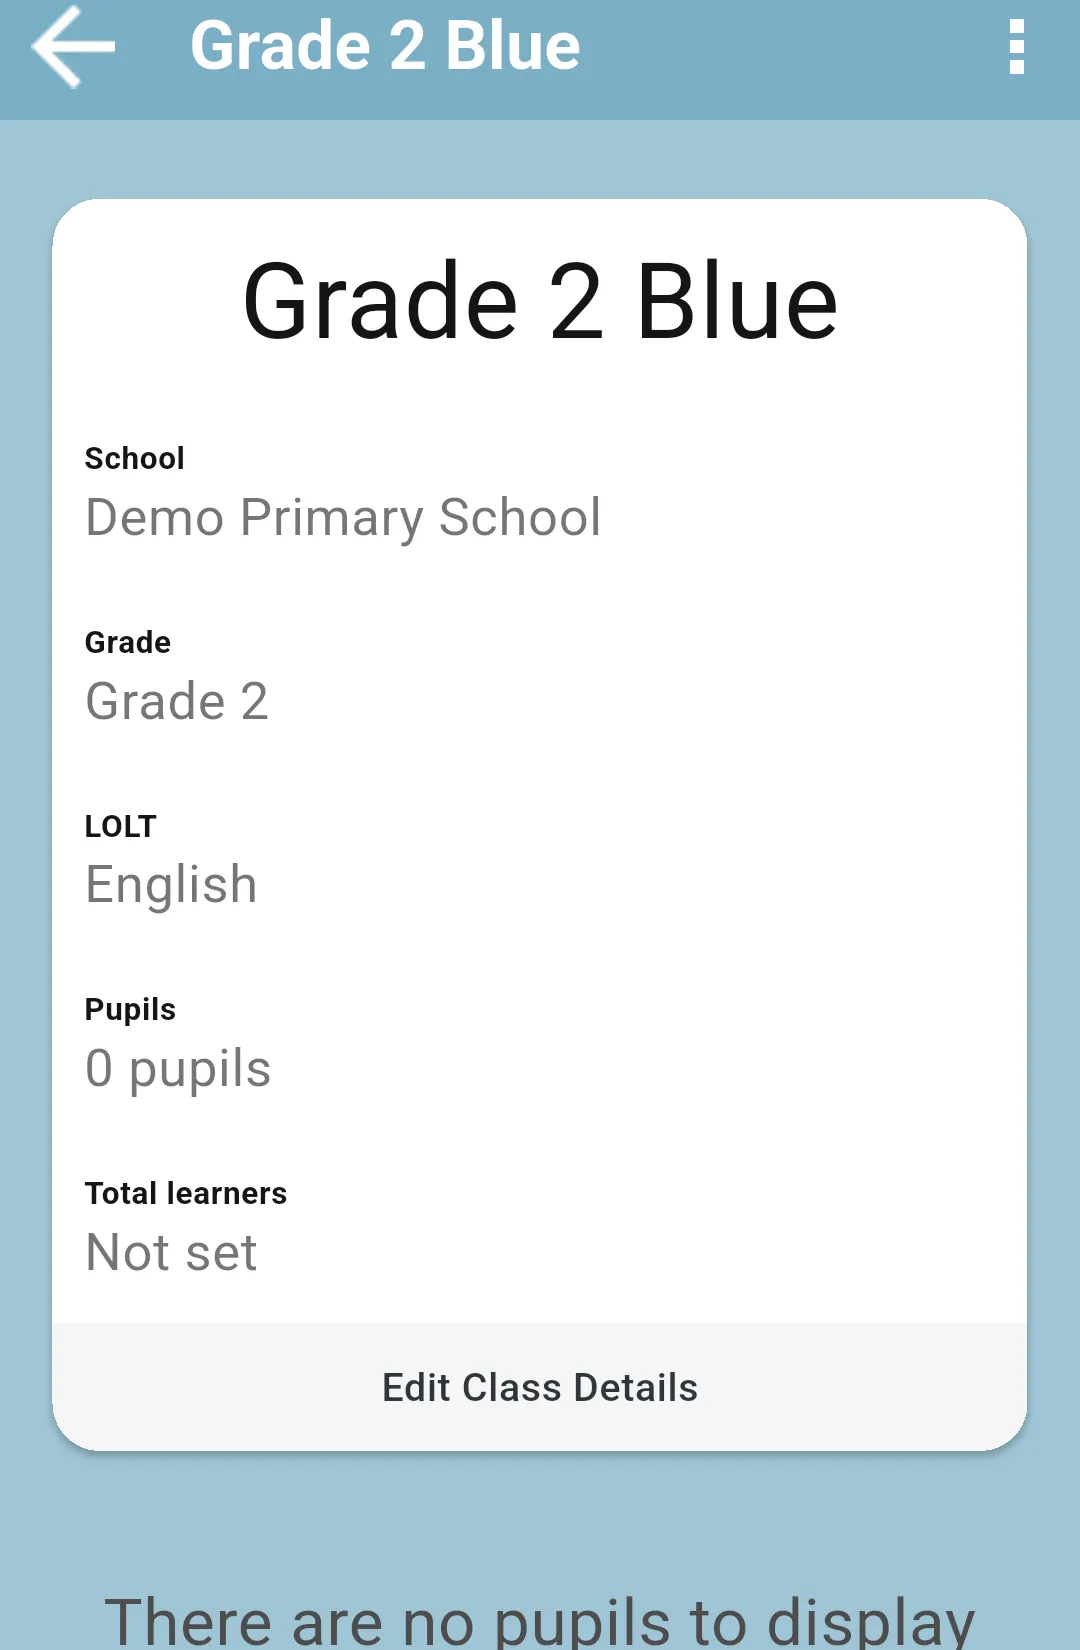
Grade and LOLT only appear when the app knows them. What was entered for the class comes first. Otherwise the app reads them from the class’s pupils: for example, pupils whose Pupil Grade is Grade Two make the card show Grade 2.
Removing a class from your list
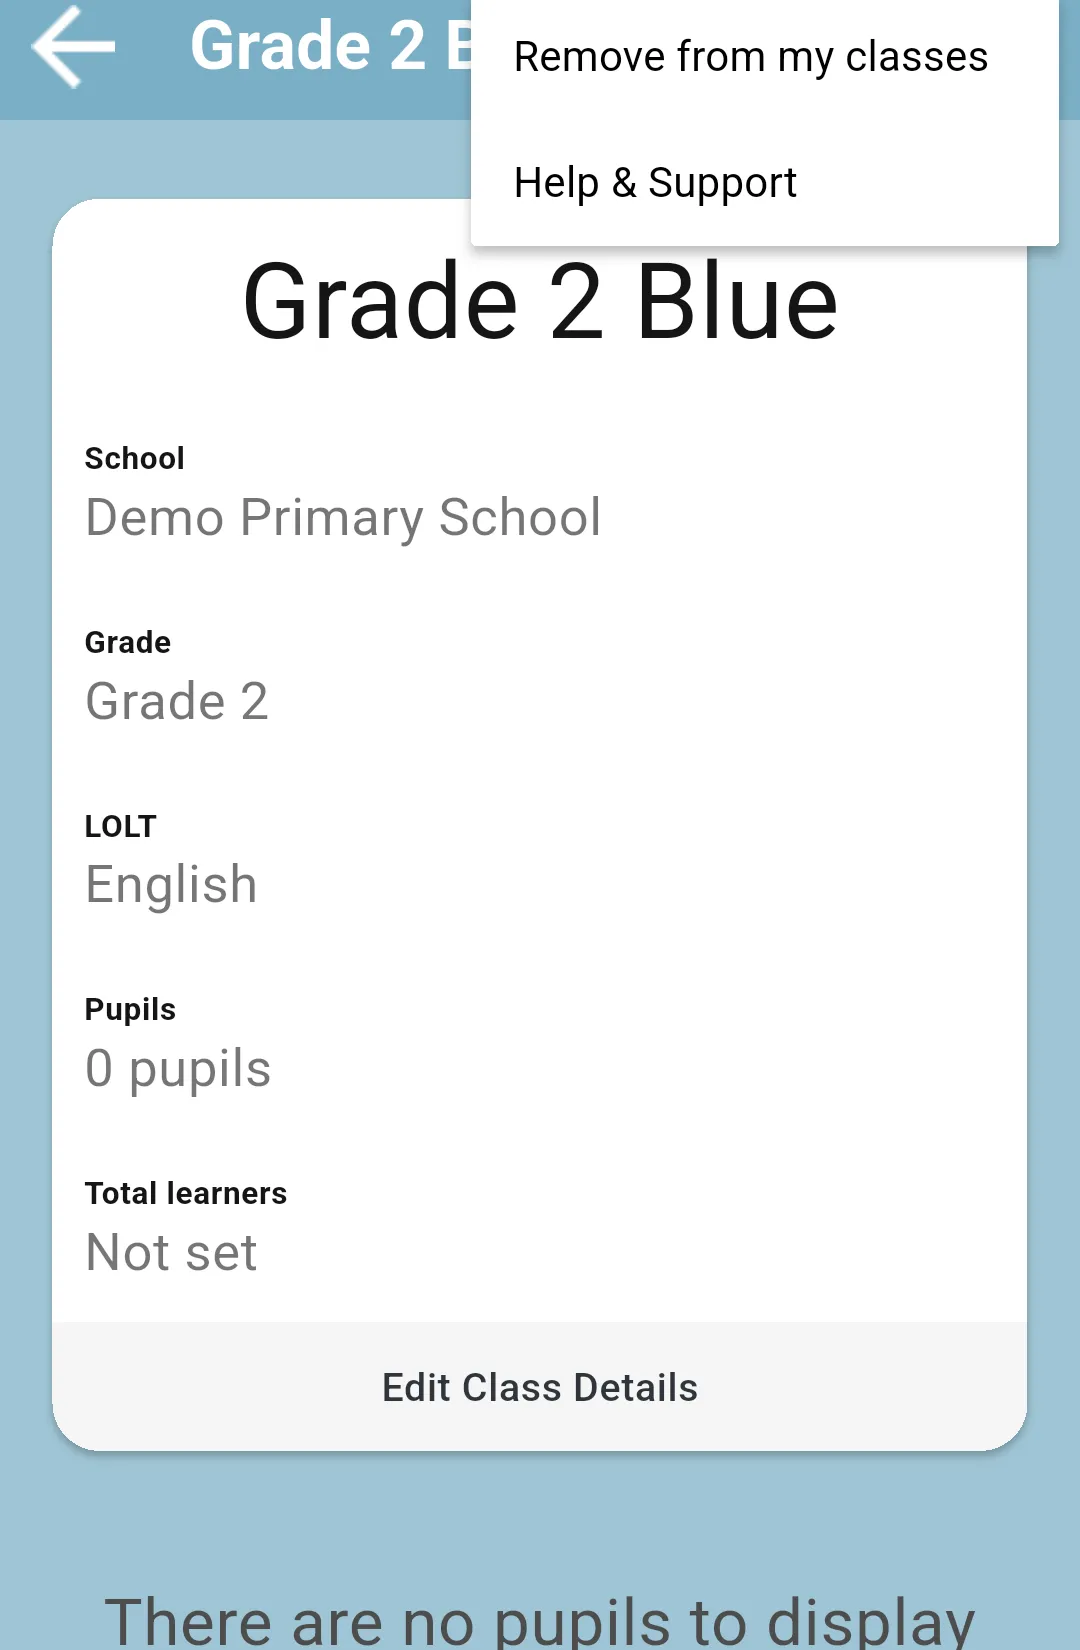
Section titled “Removing a class from your list”Teachers cannot delete classes. If a class should be merged, split or deleted, open the three-dot menu, tap Help & Support and choose EMAIL US.
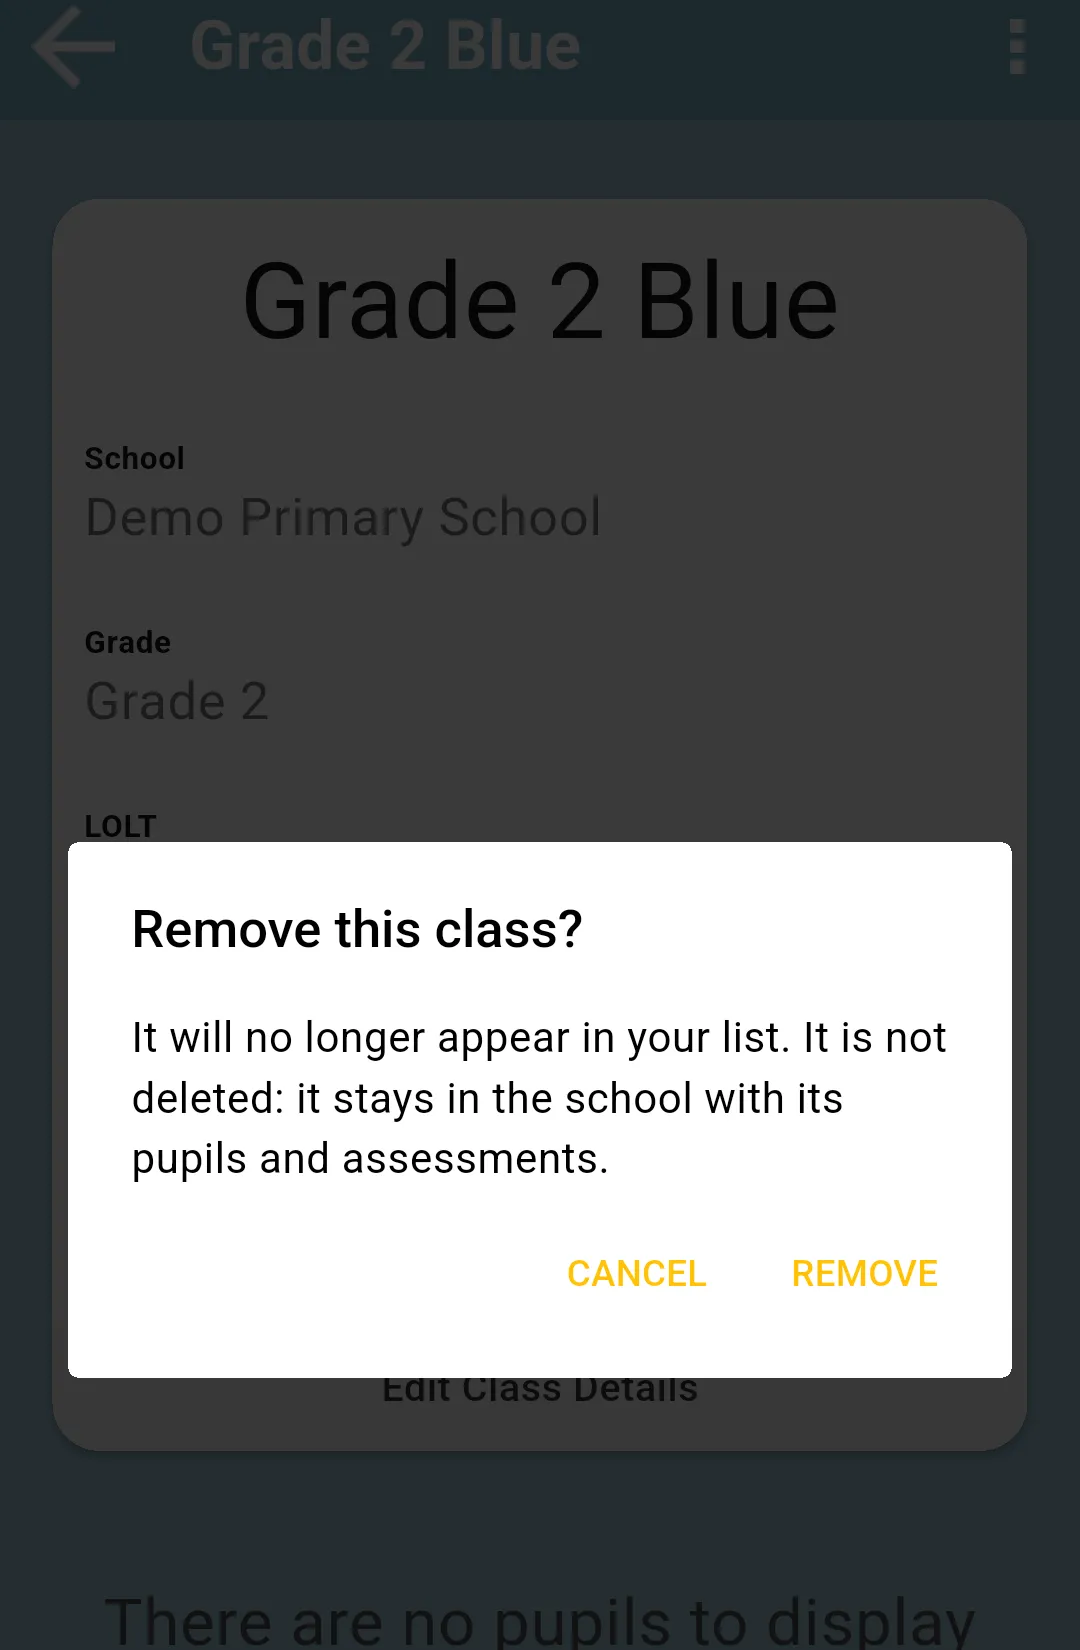
A regular teacher can take a class off their own list. Open the class, tap the three-dot menu and choose Remove from my classes. The app asks Remove this class?; tap Remove to confirm. The app shows Class removed from your list and takes you back to the school.
The class is not deleted: it stays in the school with its pupils and assessments. Removing a class needs an internet connection; without one, the app says Couldn’t remove the class. Connect to the internet and try again. Head teachers see every class in the school, so they do not have this option.
Register pupils
Section titled “Register pupils”Open the class and tap Add Pupil. Tap Name, type the pupil’s name, tap Save in the top right corner and then Save again, then complete the assigned pupil-information questions. Use the full name needed to identify the pupil. Additional fields depend on the form; age and other example questions are not universal requirements. Some questions, such as the EMIS number, have Skip this Question.
When every question is answered, the app lists your answers under Confirm Answers. Check them and tap Complete Questions at the bottom of the screen.
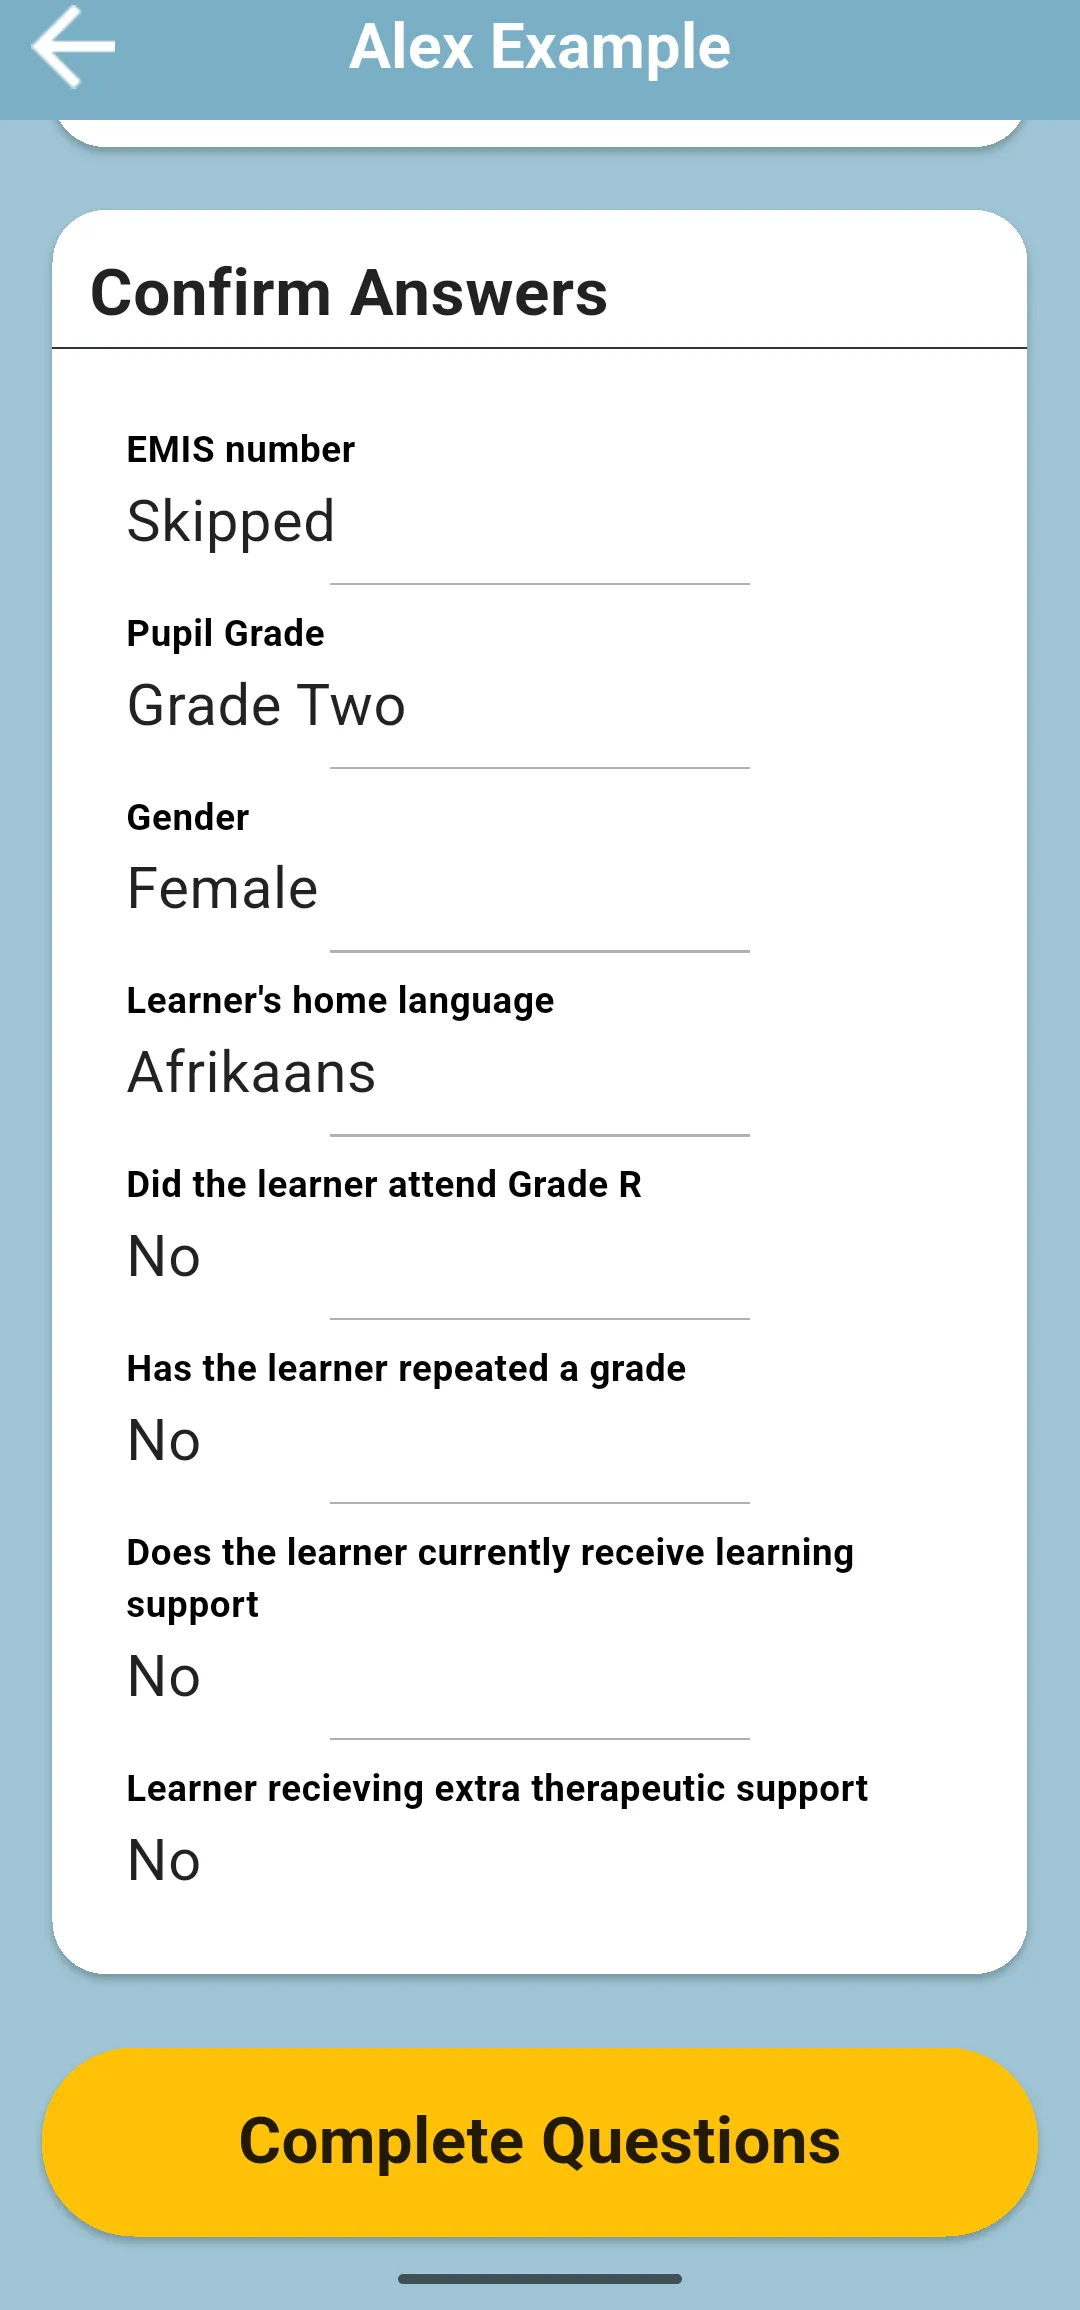
The screenshot shows an example pupil with made-up details; your assigned questions may differ.
Repeat for the class’s pupils. Check the roster before starting an assessment round so everyone who should be assessed is listed.
View and update a pupil
Section titled “View and update a pupil”Tap a pupil in the class list to open their details and assessment history. To correct their name or pupil information, tap Edit Pupil Info below their details, change the answer and tap Complete Questions. Saved pupil information is reused when you assess the pupil again. Updates can flow into in-progress assessments; completed assessment records retain their historical information.
Deleting records
Section titled “Deleting records”To delete a pupil record, open the pupil, tap the three-dot menu and choose Delete. The app asks Delete Pupil; tap DELETE only when you intend to remove that record. Marking a pupil Not Assessing in an assessment round is the appropriate choice for an absence; it does not remove them from the class.
Class and pupil changes save locally first. Sync to upload them.